Tire Maintenance Safety
Best price guarantee
Tire replacement coverage
24/7 roadside assistance
Easy returns
How to Identify a Flat Tire: Signs and Solutions

A flat tire can be a frustrating and stressful experience for any driver. Whether you're on your way to work or going on a road trip, a flat tire can quickly derail your plans and leave you stranded on the side of the road. Knowing how to identify a flat tire and take appropriate action is crucial for your safety and the well-being of your vehicle. By familiarizing yourself with the signs of a flat tire and the steps to address the issue, you can minimize the inconvenience and get back on the road with confidence.
In this article, we'll guide you through the process of identifying a flat tire and provide you with practical solutions to help you handle this common roadside emergency. From understanding the causes of flat tires to gathering the necessary tools and implementing temporary fixes, we've got you covered.
What is a Flat Tire?
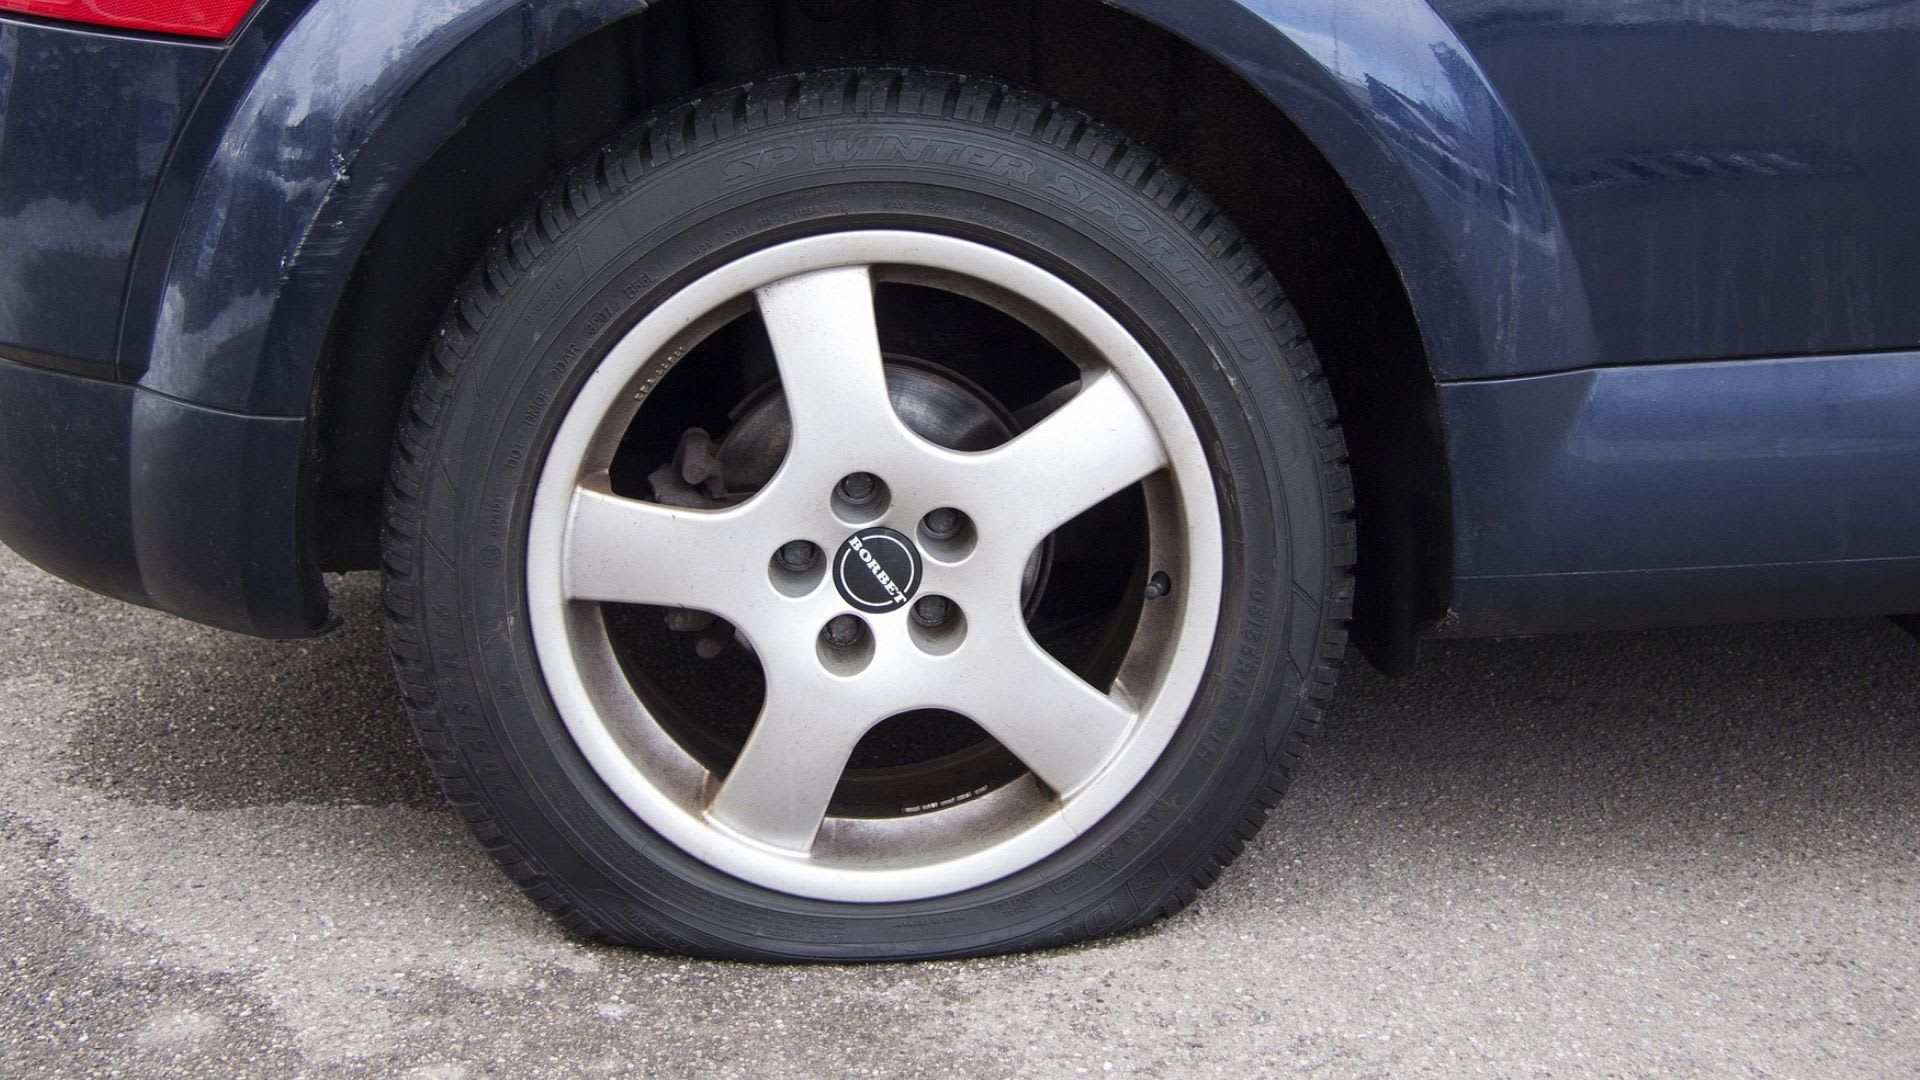
A flat tire occurs when a vehicle's tire loses air pressure, making it difficult or unsafe to drive. This loss of pressure can be caused by various factors, such as punctures from sharp objects, slow leaks due to valve stem issues, or damage to the tire's structure from hitting potholes or curbs.
When a tire goes flat, it no longer maintains its shape and cannot support the weight of the vehicle effectively. Driving on a flat tire can lead to further damage to the tire, wheel, and suspension components, as well as compromised handling and braking performance. Recognizing the signs of a flat tire early is crucial for maintaining safety on the road and preventing more extensive damage to your vehicle.
How to Identify a Flat Tire
Early detection of a flat tire is crucial for maintaining vehicle safety and preventing further damage. Begin by examining the tires from a distance; a tire that appears noticeably lower than the others often indicates a pressure issue. This visual discrepancy is a straightforward sign that requires immediate attention.
Auditory cues also help in identifying a flat tire. Listen for a faint but continuous hissing sound, which often points to air escaping from a puncture or a compromised valve stem. Additionally, changes in the vehicle's behavior while driving, such as a rhythmic thumping noise, may occur due to the uneven contact of a deflated tire with the road.
Utilize your vehicle's Tire Pressure Monitoring System (TPMS) for early alerts on pressure drops. Pay attention to any dashboard warnings about tire pressure. These indicators provide critical information about potential tire issues before they escalate. By being vigilant about these signs, you can take timely action and maintain control over your driving safety.
Step 1: Assess the Situation Safely
Upon noticing a flat tire, prioritize finding a secure place to address the issue. Slowly guide your vehicle to a stable, flat area, preferably a parking lot that provides ample space. This ensures you have a solid foundation for any required repairs and keeps you away from the hazards of oncoming traffic.
Activate your vehicle's hazard lights as soon as you are safely positioned. This action communicates to other drivers that you are stationary and require extra caution. Visibility is crucial, and these flashing lights help ensure that other motorists are aware of your situation, reducing the risk of an accident.
Before stepping out of the vehicle, take steps to ensure it remains stationary. Use wheel wedges to prevent any unwanted movement, stabilizing the vehicle during your inspection. Verify that the vehicle is in the park and engage the parking brake fully for additional security. These precautions create a safer environment for evaluating and addressing the flat tire.
Step 2: Gather Essential Tools
Once you've stopped in a secure spot, equipping yourself with the right tools is key to efficiently handling a flat tire. Start by accessing the spare tire to confirm it's properly inflated and ready to replace the damaged one. Locate the lug wrench and car jack, as these are indispensable for the tire change. The lug wrench helps in loosening and fastening the lug nuts, and the car jack is necessary to lift the vehicle securely and steadily.
Beyond the basic equipment, a tire repair kit can offer a quick fix when a spare isn't an option. These kits may include items like plugs or foam sealants capable of sealing small punctures temporarily. While these solutions provide immediate relief, they are meant only as a stopgap until you can reach a professional for a thorough repair.
For drivers who often find themselves in isolated areas, additional tools can be a game-changer. Consider keeping a portable air pump and a tire pressure gauge in your vehicle for quick inflation checks and adjustments. A flashlight and reflective gear can also be vital for nighttime fixes, ensuring visibility while you work. Equipped with these essentials, you'll be better prepared to face unexpected tire issues with ease and confidence.
Step 3: Remove the Flat Tire
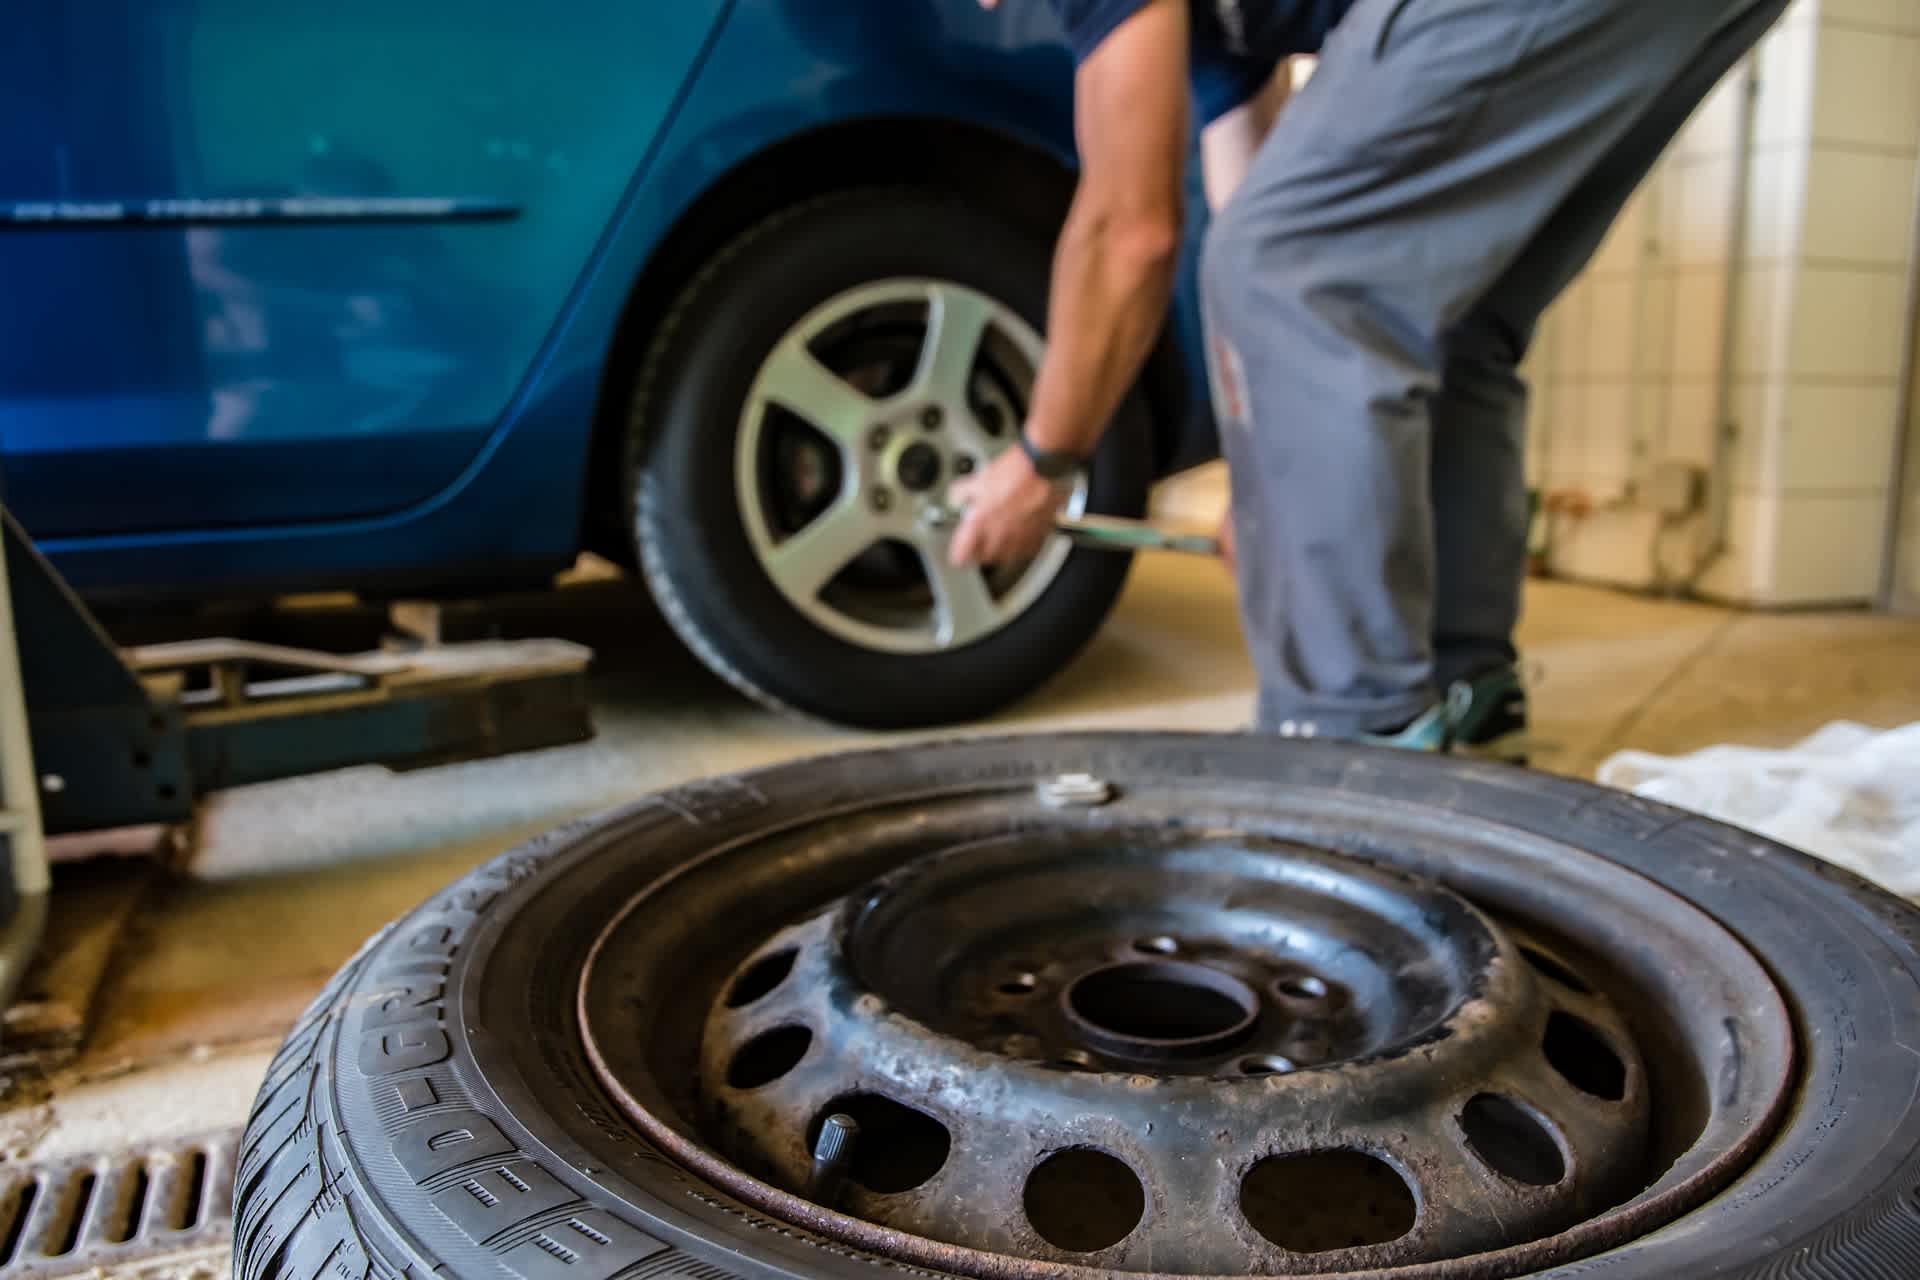
With essential tools at hand, it’s time to tackle the removal of the flat tire. Start by using the lug wrench to loosen each lug nut slightly while the vehicle remains grounded. This approach ensures the wheel doesn’t spin and allows for easier removal once the car is elevated.
Next, position the car jack under the vehicle at the appropriate jacking point as specified in your owner’s manual. Carefully raise the vehicle until there is ample clearance to remove the tire. Make sure the jack is on stable ground to maintain the vehicle’s balance during this process.
Once the vehicle is securely lifted, finish removing the lug nuts and place them in a safe spot. Gently pull the flat tire off the wheel hub, ensuring you maintain a firm grip to avoid any sudden shifts. This step prepares you to install the spare tire or proceed with a temporary repair.
Step 4: Install the Spare Tire
Properly fitting the spare tire is crucial for a safe drive. Begin by aligning the spare tire's holes with the bolts on the hub. This precise alignment ensures the tire sits correctly, reducing any risk of imbalance. Firmly secure the tire onto the hub, making sure it is seated evenly.
Next, proceed to hand-tighten the lug nuts, starting in a pattern that maintains even pressure distribution, like a star or crisscross sequence. This approach helps in keeping the tire properly centered on the hub as the vehicle is lowered. Hand-tightening also allows you to detect any cross-threading early, protecting the integrity of the bolts.
Once the spare tire is mounted, carefully lower the vehicle to the ground using the jack. Ensure the tire fully supports the vehicle's weight before removing the jack entirely. Now, use the lug wrench to tighten the lug nuts securely. Apply a firm grip and tighten them in the crisscross pattern, ensuring they are snug and capable of supporting the vehicle's load safely.
Step 5: Consider Tire Repair or Replacement

Once the spare tire is securely in place, the next step involves assessing the condition of the flat tire to determine the best course of action. A visit to a tire service professional is advisable for a thorough examination. These experts have the tools and experience necessary to identify issues that might not be immediately obvious, such as internal damage or subtle signs of wear.
For minor punctures located in the tread, a repair might be feasible. Using a tire patch or plug can effectively seal small holes, typically less than a quarter of an inch in diameter, allowing the tire to function as intended for a limited time. This solution is suitable for temporary fixes but should always align with safety guidelines to ensure reliability.
In situations where the tire has suffered significant damage like deep cuts, sidewall breaches, or damage to the tread, replacing the tire becomes the prudent choice. Extensive damage can compromise the tire's durability and performance, posing a risk of failure. A new tire not only restores the vehicle's safety but also contributes to optimal handling and fuel efficiency, making it a wise investment for continued driving assurance.
Tips on Flat Tire Prevention
To minimize the risk of flat tires, integrating a regular tire care routine is essential. One fundamental practice involves monitoring tire pressure consistently. Use a reliable gauge to check that each tire maintains the correct PSI, as outlined in your vehicle's manual. Proper inflation not only reduces the risk of flats but also optimizes vehicle handling and extends tire life.
While driving, attentiveness can greatly reduce tire damage. Stay alert to potential road hazards like nails, screws, or debris, particularly in construction zones or areas with frequent roadwork. If possible, avoid these obstacles by slowing down or maneuvering around them safely to protect your tires from punctures.
Incorporating routine tire maintenance into your vehicle's service schedule is another effective preventive measure. Regularly rotate your tires to ensure they wear evenly, which helps maintain balanced traction and performance. Additionally, have your tires inspected by a professional at regular intervals to catch signs of wear or damage early on, preventing more serious issues down the road.
While flat tires can be a frustrating experience, being prepared and knowing how to handle the situation can make all the difference. Remember, prevention is key, so prioritize regular tire maintenance and stay alert on the road to minimize the risk of flats. If you need new tires or want expert advice on tire care, shop for tires online here and find the best deals to keep you rolling with confidence.
Ready to find the perfect tires?
Search By